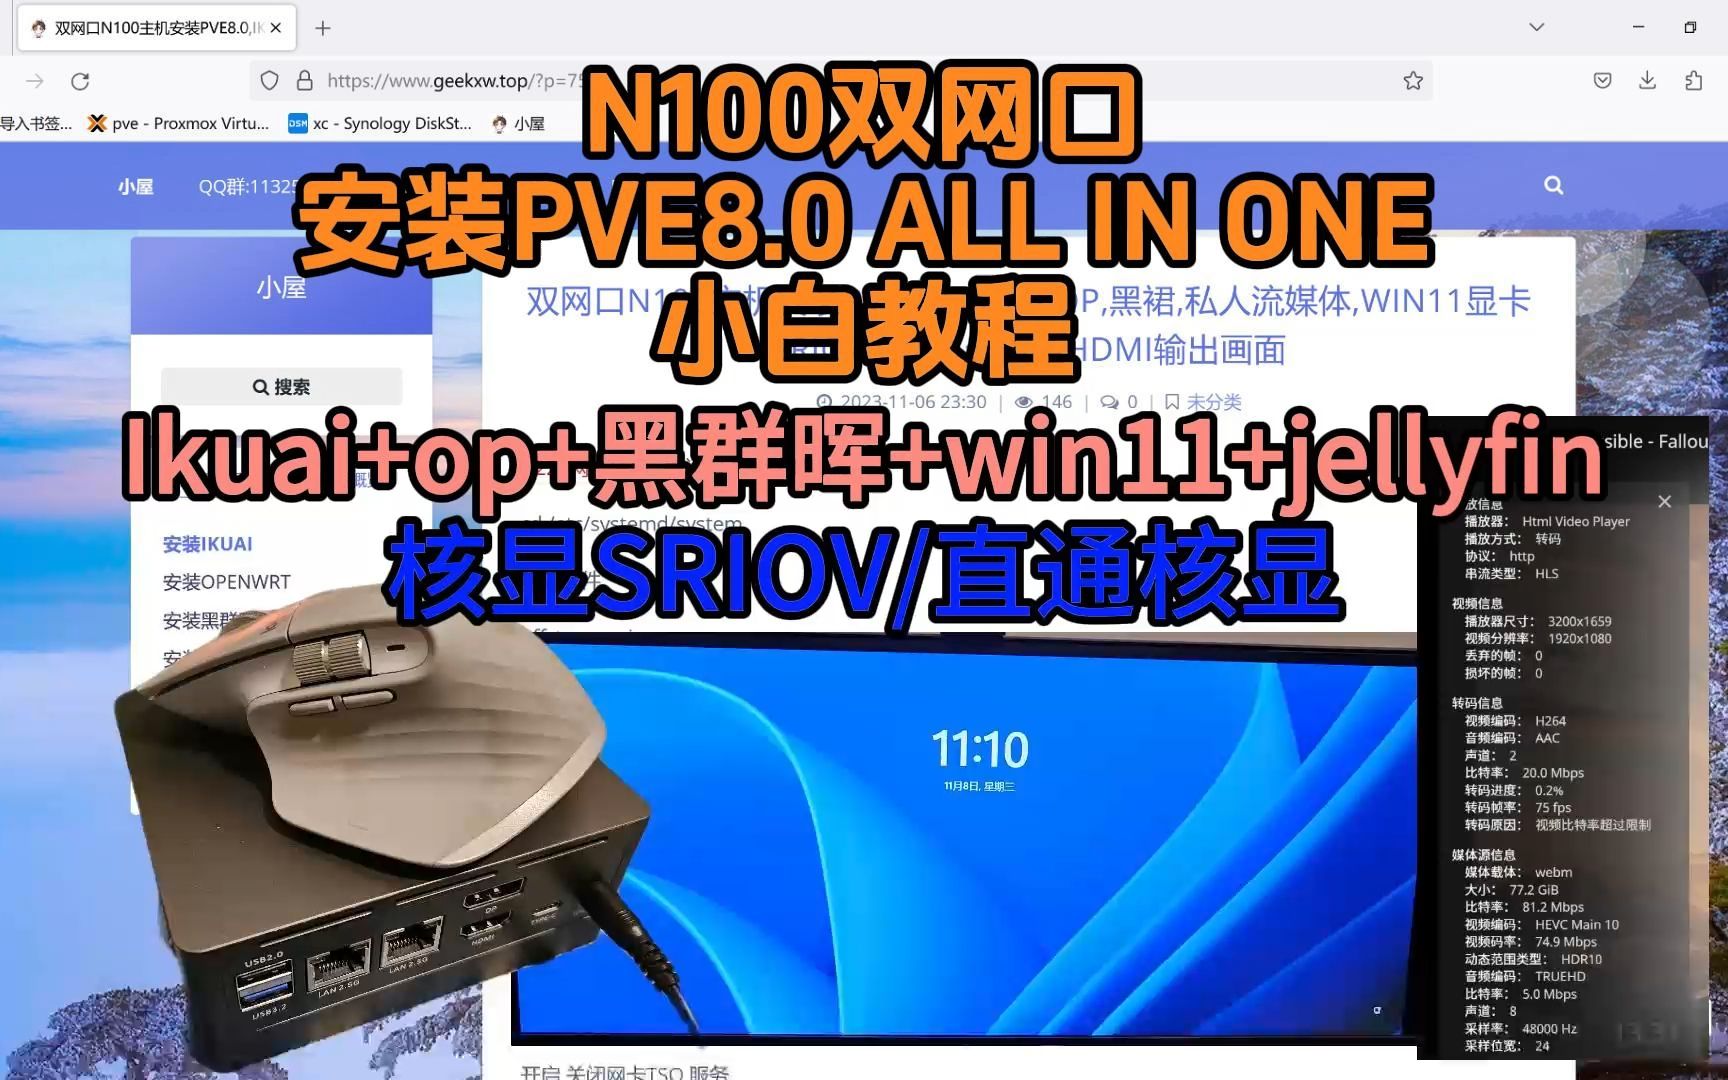
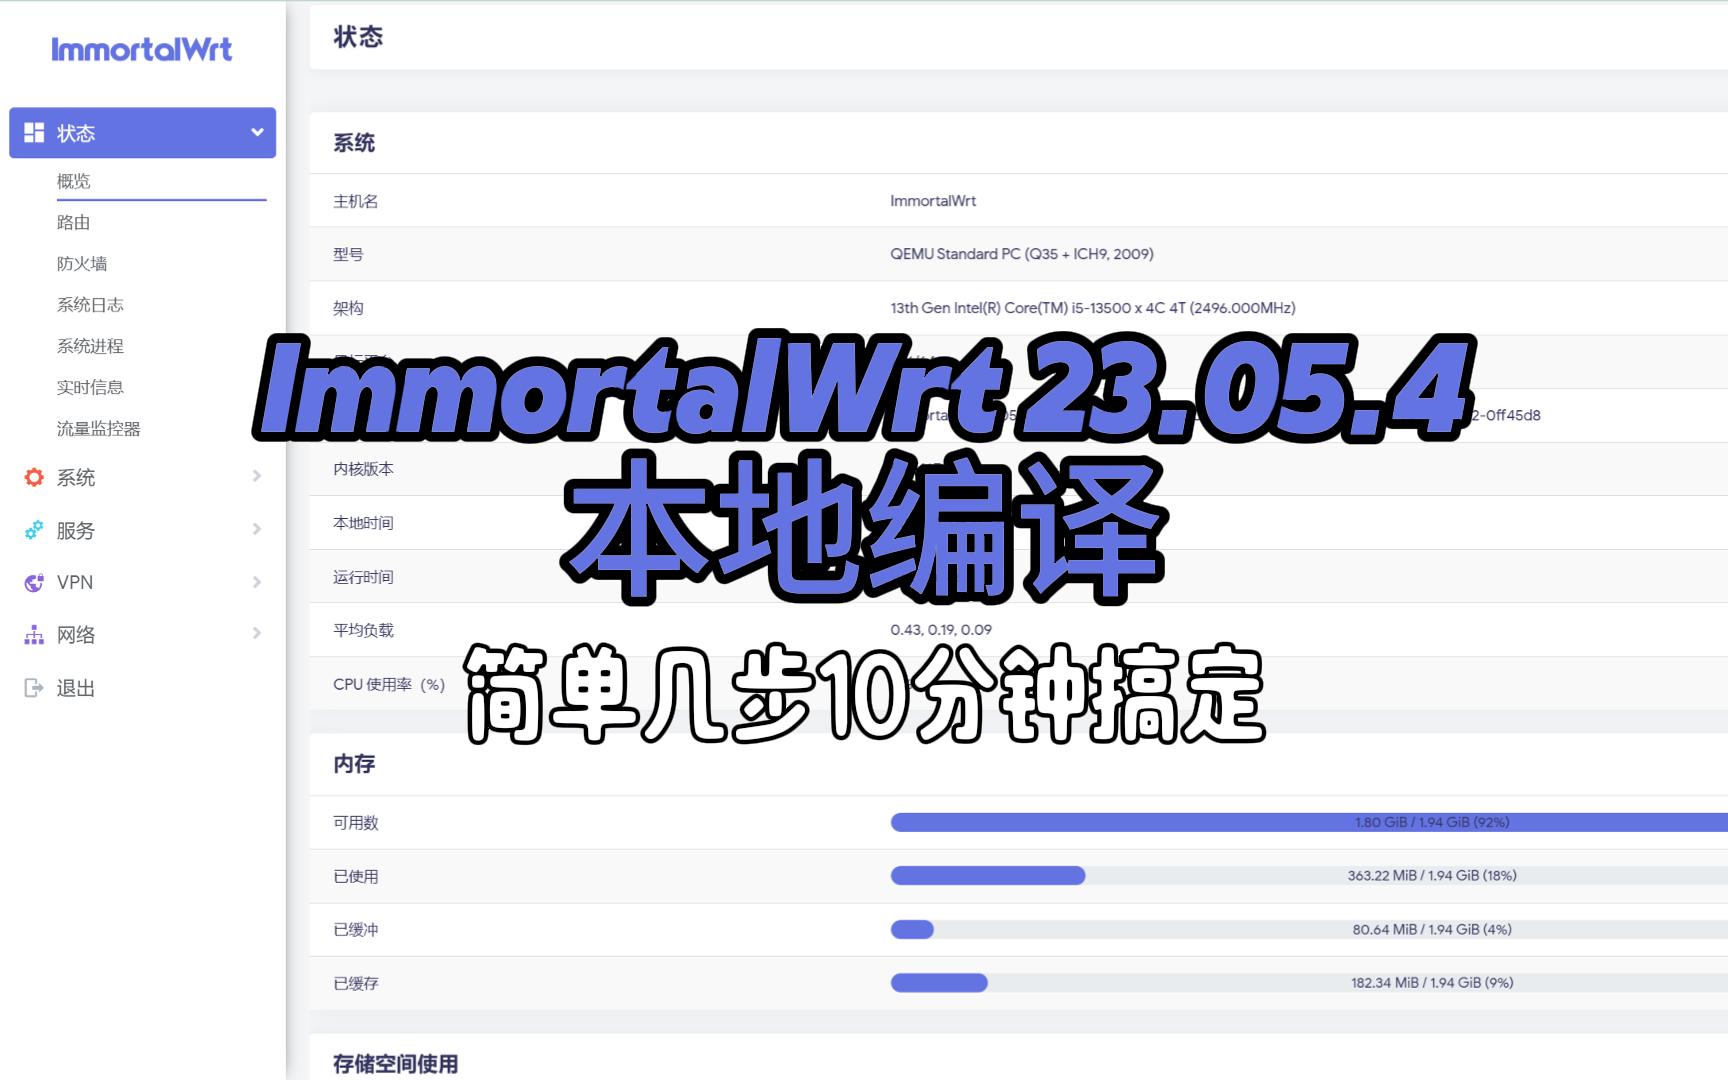
接有偿搭建如有需要进群联系群主
QQ群:766704294
硬件价格:
CPU:G4560T 30元
主板:华擎H110M DVS 105元
内存条:单根8G 70元
散热: 9.9元
PCIE网卡:双口千兆Intel82571 40元 or 双口千兆BCM5709c 30元
PCIESATA拓展卡:ASM1064 34元
ATX电源 20元
P1,开启硬件直通,替换软件源,添加温度显示,和一些优化
添加直通代码
nano /etc/default/grub
GRUB_CMDLINE_LINUX_DEFAULT=”quiet intel_iommu=on iommu=pt”
echo -e "vfio\nvfio_iommu_type1\nvfio_pci\nvfio_virqfd" >> /etc/modules
update-grub
update-initramfs -u -k all
一键替换国内源
wget http://share.geekxw.top/yuan.sh -O yuan.sh && chmod +x yuan.sh && ./yuan.sh
apt update
apt dist-upgrade
添加温度显示
(curl -Lf -o /tmp/temp.sh https://raw.githubusercontent.com/a904055262/PVE-manager-status/main/showtempcpufreq.sh || curl -Lf -o /tmp/temp.sh https://mirror.ghproxy.com/https://raw.githubusercontent.com/a904055262/PVE-manager-status/main/showtempcpufreq.sh) && chmod +x /tmp/temp.sh && /tmp/temp.sh remod
来源:https://www.right.com.cn/forum/thread-6754687-1-1.html
关闭KSM内存共享
systemctl disable –now ksmtuned
echo 2 > /sys/kernel/mm/ksm/run
修改CPU调度
apt install cpufrequtils
cpufreq-info
performance 性能模式,将 CPU 频率固定工作在其支持的较高运行频率上,而不动态调节。
userspace 系统将变频策略的决策权交给了用户态应用程序,较为灵活。
powersave 省电模式,CPU 会固定工作在其支持的最低运行频率上。
ondemand 按需快速动态调整 CPU 频率,没有负载的时候就运行在低频,有负载就高频运行。
conservative 与 ondemand 不同,平滑地调整 CPU 频率,频率的升降是渐变式的,稍微缓和一点。
schedutil 负载变化回调机制,后面新引入的机制,通过触发 schedutil sugov_update 进行调频动作。
cpupower -c all frequency-set -g ondemand
systemctl restart cpufrequtils
P2,自定义传感器显示
EmEditor
/usr/share/perl5/PVE/API2/Nodes.pm
$res->{pveversion} = PVE::pvecfg::package() . "/" .
    PVE::pvecfg::version_text();
$res->{sensorsinfo} = `sensors -j`;
$res->{nvinfo} = `nvidia-smi -x -q`;
/usr/share/pve-manager/js/pvemanagerlib.js
	{

        itemId: 'sensorsinfo',
        colspan: 2,
        printBar: false,
        title: gettext('温度传感器'),  // WEB显示内容
        textField: 'sensorsinfo',
        renderer:function(value){
		        value = JSON.parse(value.replaceAll('Â', ''));
        const c0 = value['coretemp-isa-0000']['Package id 0']['temp1_input'].toFixed(1);
        const a0 = value['i350bb-pci-0800']['loc1']['temp1_input'].toFixed(1);
        const c1 = value['nct6798-isa-0290']['fan1']['fan1_input'].toFixed(1);
        const c2 = value['nct6798-isa-0290']['fan2']['fan2_input'].toFixed(1);
        const c3 = value['nct6798-isa-0290']['fan3']['fan3_input'].toFixed(1);
        const c4 = value['nct6798-isa-0290']['fan6']['fan6_input'].toFixed(1);
		        return `CPU温度: ${c0}°C|i350温度: ${a0}°C|CPU风扇: ${c1}|机箱风扇: ${c2},${c3}|Tesla P4风扇: ${c4}`;  // 输出格式
        }
	},
		{

        itemId: 'nvinfo',
        colspan: 2,
        printBar: false,
        title: gettext('GPU传感器'),  // WEB显示内容
        textField: 'nvinfo',
        renderer:function(value){
        const c0 = value.match(/<gpu_temp>(\d+)\s?C<\/gpu_temp>/)[1];
		const c1 = value.match(/<power_draw>([\d.]+)\s?W<\/power_draw>/)[1];
		const c2 = value.match(/<graphics_clock>([\d]+)\s?MHz<\/graphics_clock>/)[1];
		        return `温度: ${c0}°C|功耗: ${c1}W|频率: ${c2}Mhz`;  // 输出格式
        }
	},
systemctl restart pveproxy

apt install pve-manager  proxmox-widget-toolkit  --reinstall
重装pve管理网页代码
P3,安装ikuai和openwrt
qm importdisk 101 /var/lib/vz/template/iso/20230901-Ipv6-Super-6.1-x86-64-generic-squashfs-combined-efi.img local-lvm
P4,安装黑群晖
qm importdisk 102 /var/lib/vz/template/iso/rr_4GB.img local-lvm
1.PVE系统在NVME盘 可以直通SATA控制器
直通ID为17的
2.PVE系统在sata盘 但是还有PCIE槽SATA控制器
直通PCIE槽的sata控制器
3.PVE安装在sata盘 没有多的sata控制器 可以RDM映射硬盘
RDM:
ls -la /dev/disk/by-id/|grep -v dm|grep -v lvm|grep -v part
qm set 102 --sata1 /dev/disk/by-id/
4.只有一个硬盘 添加虚拟sata盘
P5,创建LXC容器共享核显 PLEX,JELLYFIN,EMBY转码
/etc/pve/lxc
lxc.cgroup2.devices.allow: c 226:0 rwm
lxc.cgroup2.devices.allow: c 226:128 rwm
lxc.mount.entry: /dev/dri/card0 dev/dri/card0 none bind,optional,create=file
lxc.mount.entry: /dev/dri/renderD128 dev/dri/renderD128 none bind,optional,create=file
lxc.apparmor.profile: unconfined
lxc.cap.drop:
mkdir /mnt/smb
sudo mount -t cifs //192.168.31.31/downloads /mnt/smb -o username=xc,password=Zhangsan1@
sudo nano /etc/fstab
//192.168.31.31/downloads /mnt/smb cifs username=xc,password=Zhangsan1@ 0
sudo dpkg -i plexapt install sudo curl
curl -fsSL https://get.docker.com -o get-docker.sh
sudo sh get-docker.sh
docker run -d \
--name=jellyfin \
--volume /home/docker/jellyfin/config:/config \
--volume /home/docker/jellyfin/cache:/cache \
--volume /mnt/smb:/media \
--net=host \
--restart=unless-stopped \
--device /dev/dri/renderD128:/dev/dri/renderD128 \
--device /dev/dri/card0:/dev/dri/card0 \
nyanmisaka/jellyfin:latest
apt install intel-gpu-tools
intel_gpu_topP6,安装WIN10,开启核显GVT-g直通给虚拟机
支持Intel Broadwell (5代) 到 Comet Lake (10代) 不支持Ice Lake (10代移动处理器)
lspci  -vs 00:02.0

i915-GVTg_V5_1  # Video memory: <512MB, 2048MB>, resolution: up to 1920x1200
i915-GVTg_V5_2  # Video memory: <256MB, 1024MB>, resolution: up to 1920x1200
i915-GVTg_V5_4  # Video memory: <128MB, 512MB>, resolution: up to 1920x1200
i915-GVTg_V5_8  # Video memory: <64MB, 384MB>, resolution: up to 1024x768
nano /etc/default/grub
i915.enable_gvt=1
nano /etc/modules
kvmgt

update-grub

update-initramfs -u -k all

核显驱动下载地址:
https://downloadmirror.intel.com/795883/gfx_win_101.2127.exe


查看支持类型:
root@pve:~# ls /sys/bus/pci/devices/0000:00:02.0/mdev_supported_types/
i915-GVTg_V5_4  i915-GVTg_V5_8
root@pve:~#
准备一节视频长度十几分钟 拆开录 减少工作量 提高工作效率
本套硬件挺便宜的小白也可以抄作业
![图片[1]-PVE8.1 小白ALL IN ONE安装教程 Refresh-小陈折腾日记](https://www.geekxw.top/wp-content/uploads/2024/03/Clip_20240311_185536.png)
![图片[2]-PVE8.1 小白ALL IN ONE安装教程 Refresh-小陈折腾日记](https://www.geekxw.top/wp-content/uploads/2024/03/Clip_20240310_190655-1024x811.png)


- 最新
- 最热
只看作者